Almost every roof leak we are called out to in Kerry, Cork and Limerick is a junction. Not the slates, not the tiles, but the places where the roof meets something else. A chimney. A wall. Another roof slope. A flue pipe. A rooflight.
Lead is what makes those junctions watertight, and it has been doing that job on Irish buildings for centuries. It also has more ways to be installed badly than almost any other roofing material, and a bad lead detail will not announce itself for two or three winters.
This guide goes through each lead detail on a pitched roof, what the job is meant to look like, and where it goes wrong.
Lead codes: what the numbers mean
Rolled lead sheet is graded by code, which is a thickness. The code is picked to suit the detail and how exposed it is, not to suit the budget.
| Code | Thickness | Colour label | Typical use |
|---|---|---|---|
| Code 3 | 1.32 mm | Green | Soakers and concealed details |
| Code 4 | 1.80 mm | Blue | Cover flashings, stepped flashings, pitched valley linings |
| Code 5 | 2.24 mm | Red | Aprons, back gutters, valley linings, small flat weatherings |
| Code 6 | 2.65 mm | Black | Larger flat details and heavy weatherings |
On the Kerry and West Cork coast we move up a code on anything exposed. Salt-laden wind and constant wetting are harder on thin lead than inland conditions, and the extra thickness also resists wind lift on long flashing runs.
Code 3 has its place on soakers and tucked-away details, but it does not belong on an exposed flashing. If you are reading a quote, ask which code is specified. The words lead flashing on their own tell you nothing. We put the code on ours, which is also how we price lead work.
The one rule everything else follows: lead moves
Lead expands and contracts every day the sun hits it. A Code 4 flashing 1.5 m long moves roughly 3 mm along its length between a cold night and a sunny afternoon. Do that twice a day for ten years and the metal work-hardens, then cracks.
- Maximum piece length is 1.5 m. Longer runs are made from separate bays with laps, not one heroic strip.
- Laps of at least 100 mm between pieces, more on shallow pitches.
- Lead is clipped, not face-nailed. A nail through the face of lead creates a stress point that becomes a crack.
- Lead is never bedded solid in mortar along its whole length. It has to be free to move.
If you see a single continuous ribbon of lead running four metres along an abutment, sealed down with mastic, that is not lead work. That is a leak with a date on it.
Stepped flashing and soakers at a wall abutment
Where a roof slope runs into a wall, whether a gable, a parapet or a neighbouring extension, two lead components work together.
Soakers are hidden pieces, one per slate or tile course, sitting between the courses with a small upstand against the wall. They are sized off the roof covering: height equals the gauge plus the lap plus about 25 mm, width equals the slate width plus the upstand. They are trapped in place by the slates either side and the course above, so they need no fixing of their own.
The stepped cover flashing is the visible zigzag. It is chased at least 65 mm into a mortar joint, wedged and pointed. It steps down the wall following the coursing and laps roughly 75 mm over the soakers beneath.
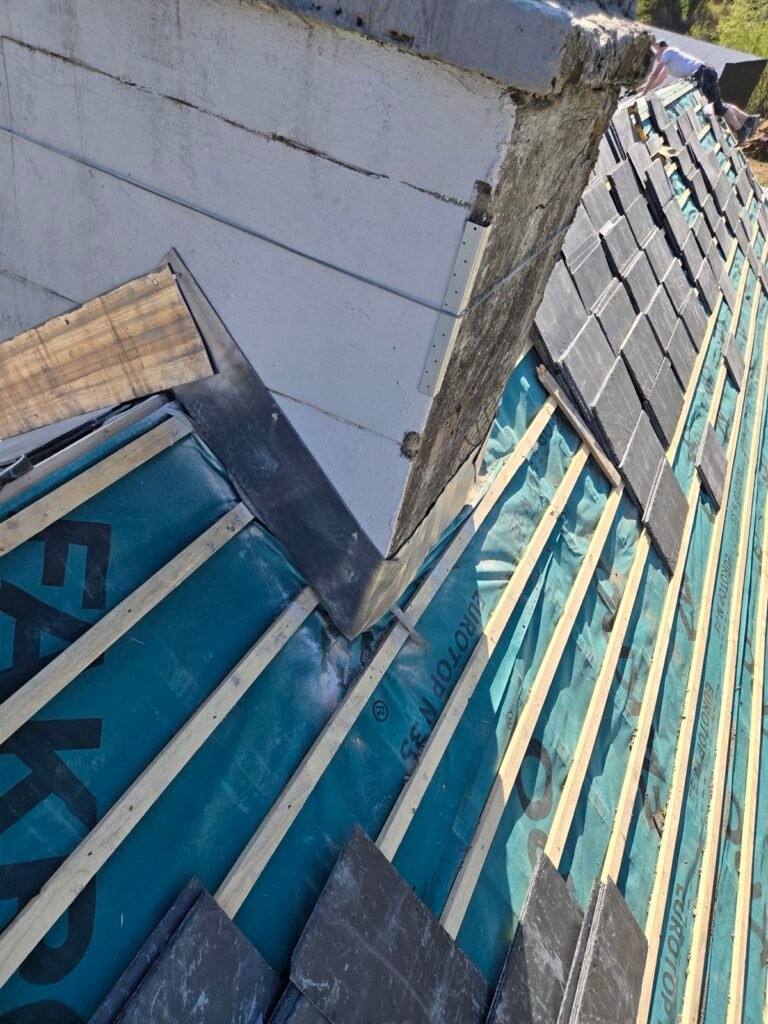
The common failure is skipping the soakers and relying on one deep cover flashing with sealant along the bottom edge. It works for a while. Then the sealant shrinks and water runs behind the flashing with nothing underneath to catch it.
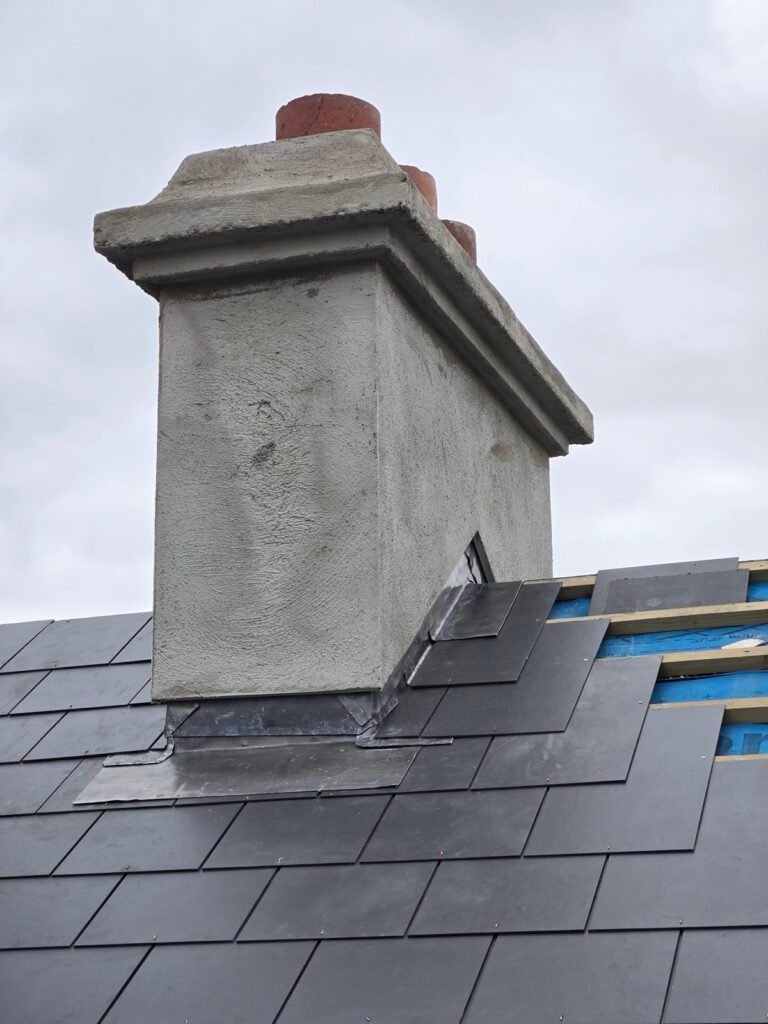
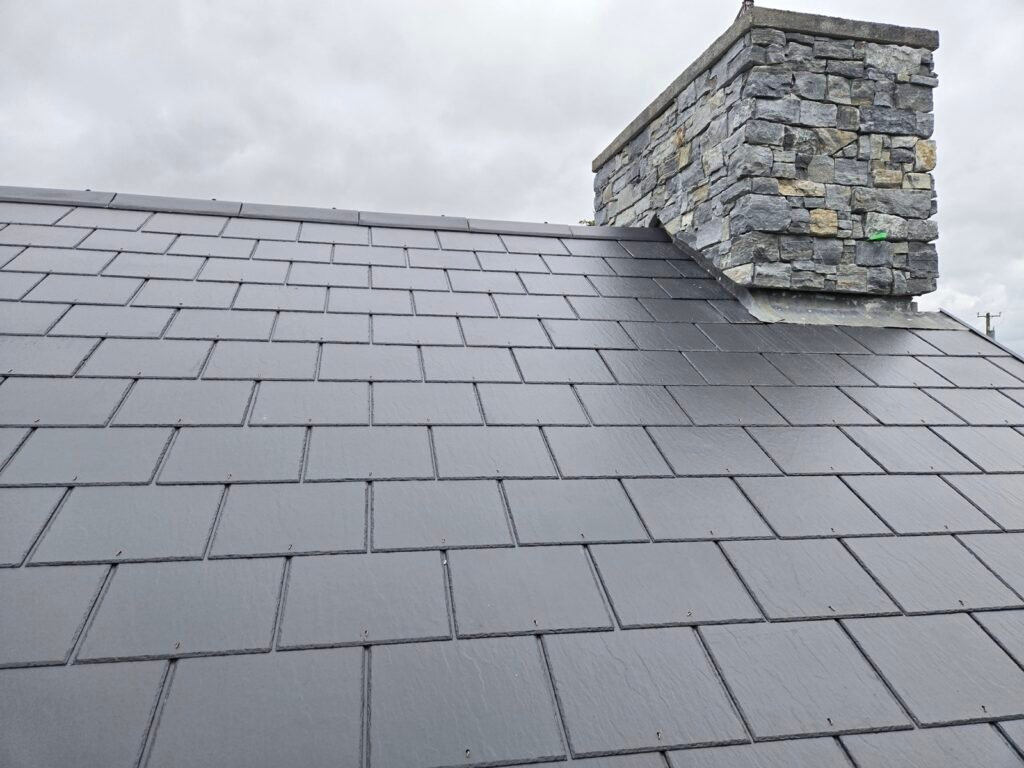
Chimney lead work: apron, soakers, back gutter, saddle
A chimney needs lead on all four faces and each face does a different job.
The front apron sits on the downslope face. It carries water off the stack and discharges it cleanly onto the slates below. Code 4 or 5, chased into the joint, dressed down over the covering.
The cheeks get soakers plus stepped cover flashing, exactly as at a wall abutment.
The back gutter is the upslope face, and it is the one that leaks. It is a formed channel behind the stack that collects everything coming down the roof above and pushes it around both sides. It needs Code 5 or 6 for stiffness, a measurable fall, a tilt fillet at the upslope edge so water cannot track back underneath, and a bay length no greater than 1.5 m. Back gutters also collect leaves and moss, so the detail has to still work when it is half blocked.
This is the single most common cause of a leak that shows up as damp on a bedroom chimney breast, and it is invisible from the ground. It is usually worth doing at the same time as repointing and re-flaunching the stack, because the scaffold is up either way.
What a lead saddle is
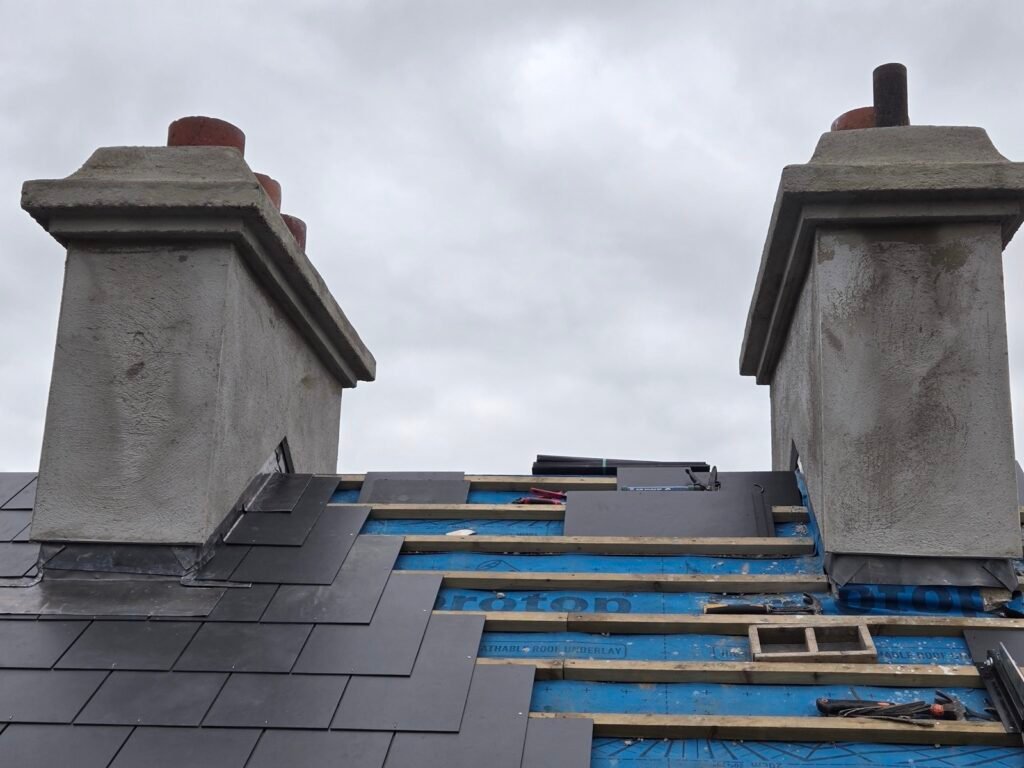
A saddle is a shaped lead piece at a junction where two planes meet and a standard flashing cannot turn the corner cleanly. Most often that is where a ridge runs into the side of a chimney stack, where a hip meets a ridge, or at the corners of a back gutter.
It is cut and bossed, or lead-welded, into a single piece so there is no seam at the exact point where water concentrates. An upstand of at least 75 mm, with softened corner radii rather than sharp folds, because sharp folds are where fatigue cracks start.
Saddles are one of the clearest tells of a proper leadworker. A saddle faked with two overlapping flat pieces and a bead of sealant will leak within a few years.
Internal and external corners in lead flashing
Lead will not turn a corner on its own. Wherever an upstand changes direction, at the corners of a chimney, a dormer, a rooflight kerb or a flat roof against two walls, the sheet either has too much metal or too little, and that has to be dealt with properly. There are three accepted ways to do it.
- Bossing. Working the sheet with a bossing stick and dresser until it forms the corner as one continuous piece, with no joint at all.
- Lead welding. Cutting the corner and fusing the pieces with a welded seam, or welding in a small gusset piece.
- A folded or dog-ear corner. On internal corners only, the surplus is folded into a neat triangular ear and laid flat against one upstand. No cut, no seam.
Internal corner lead flashing
An internal corner is a re-entrant angle: the two back corners of a chimney back gutter, the inside corners of a lead-lined box gutter, or the corner where a flat roof meets two walls. Turn two upstands up into that angle and there is surplus metal in the corner with nowhere to go.
That surplus is either bossed out of the corner so the metal thickens slightly and the corner stays one piece, or folded into a dog-ear. Both are watertight, because nothing has been cut. A welded internal corner is also sound if the weld is done well, since it is a fused seam, not a sealed one.
What is not acceptable is cutting the corner open and filling the gap with mastic or a bead of silicone. Internal corners collect water, debris and standing moisture, so a cut corner here is usually the first place a back gutter or box gutter lets go.
External corner lead flashing
An external corner wraps around the outside of something: the front corners of a chimney apron, the corners of a dormer or a rooflight kerb. Here the problem is the opposite. There is not enough metal to go around, so the lead has to be stretched by bossing, or the corner is cut and a gusset welded in.
External corners take more skill and more time than internal ones, and they are where corners get faked most often: a cut, an overlap and a smear of sealant. On a chimney apron that usually shows up as a damp patch low on the chimney breast inside.
Lead corners on a flat roof
On a lead flat roof or a small flat weathering, such as a bay roof, a porch or the top of a dormer, the same rules apply at every corner where the roof meets a wall. The lead is turned up as an upstand of at least 100 mm, formed at the corners by bossing, welding or a dog-ear, and then covered by a separate cover flashing chased into the wall above. The upstand and the cover flashing are two pieces on purpose, so the roof lead can move without pulling against the wall.
The test on any finished job is simple. Run your eye down every corner. A bossed, folded or welded corner is smooth and continuous. A faked one has a visible cut line with mastic in it.
Valleys
A valley is the channel where two roof slopes meet, and it carries far more water than any other part of the roof.
A lead-lined valley needs a valley board beneath it, typically 25 mm treated softwood, a minimum clear gutter width of about 125 mm at the head widening toward the eaves as the catchment grows, bays no longer than 1.5 m in Code 4 or 2 m in Code 5, at least 75 mm lap at each drip, and clips at the edges rather than nails through the face.
The 75 mm lap matters more than it sounds. The bare minimum looks fine on the day and then opens up the first winter the lead contracts.
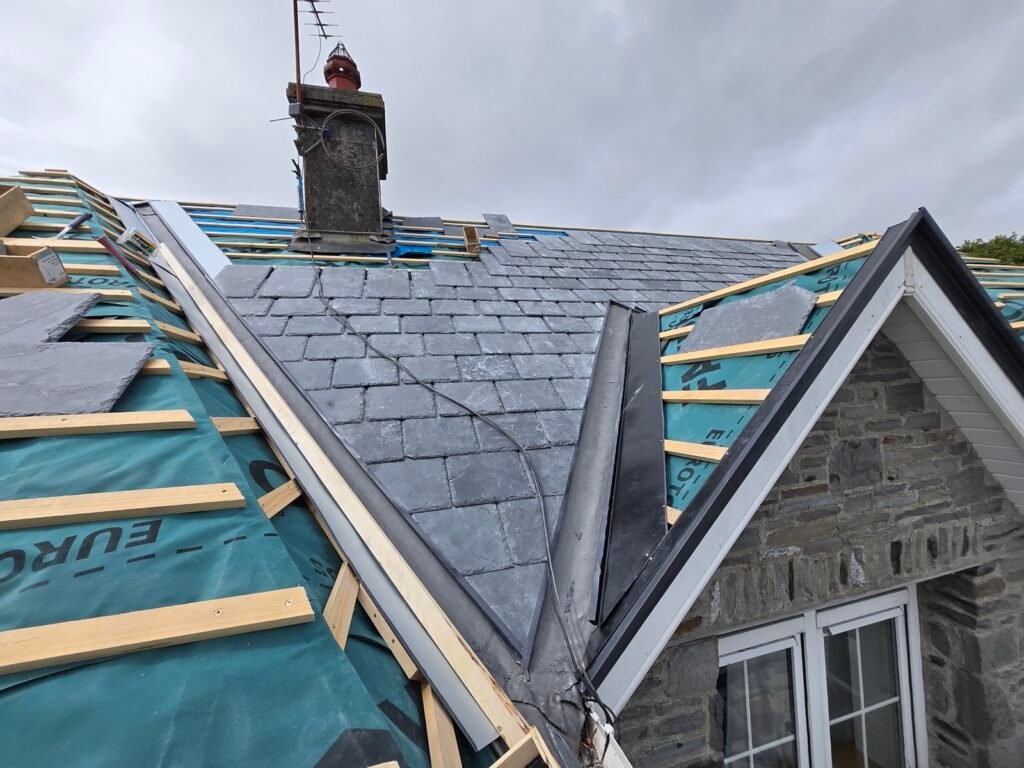
The refurbishment mistake we see most often is a valley replaced while the back gutter or flashing at the head of the valley is left exactly as it was. The new valley then gets blamed for a leak coming from above it.
Lead pipe and flue flashings
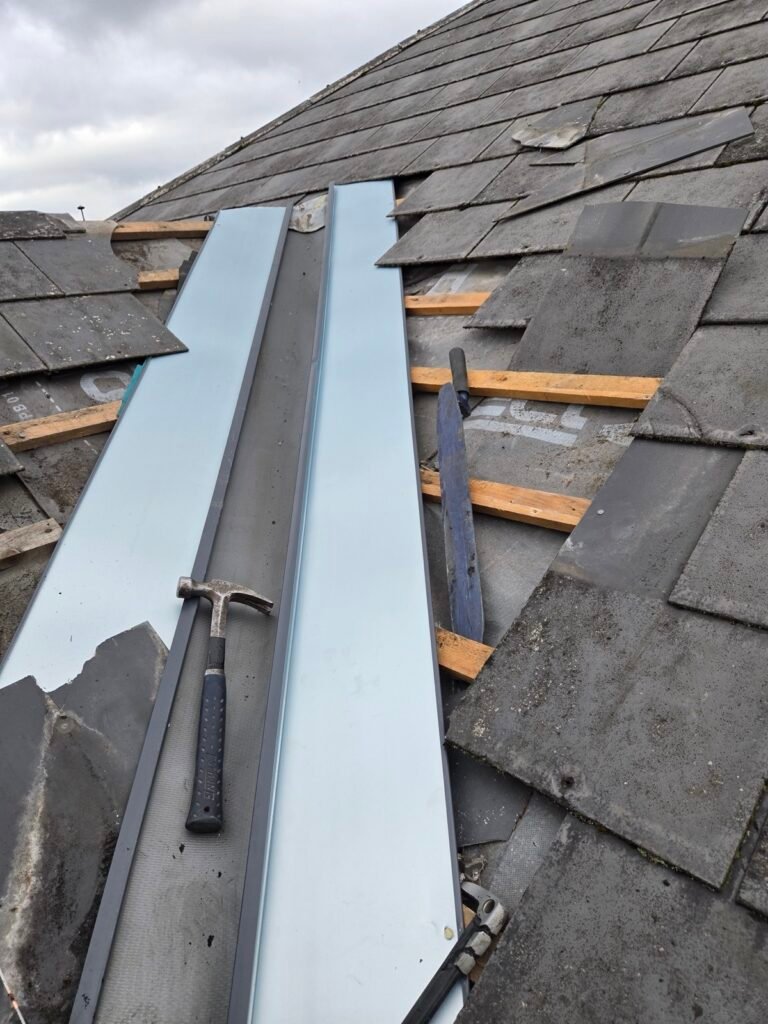
Anything passing through the roof, whether a soil vent, a flue or an extract terminal, needs a collar. A lead slate, also called a lead weathering slate, is a flat lead base sized to the roof covering with an upstand collar formed to the pipe diameter, dressed tight and turned into the pipe mouth.
Preformed lead slates are available in common diameters. For an odd size or an unusual pitch the base is cut from Code 4 and the collar bossed or welded on.
The failure here is nearly always a rubber or plastic collar sealed to the roof with mastic. It survives a few years of UV and then splits.
Decorative and scalloped lead flashing
Not all lead work is invisible. Scalloped or shaped lead edges, a decorative bottom edge to an apron, a shaped cover flashing on a bay or porch roof, welted detailing on a dormer, are a traditional feature on Irish period properties and on better new builds.
Same material, same rules on movement and fixing. The difference is that the exposed edge is cut to a scallop, welt or ogee profile rather than left square, and the setting out has to be regular enough to look deliberate from the ground.
If you are restoring a period property and there is existing decorative lead, it is usually worth replicating the original profile rather than replacing it with plain square-cut flashing.
Patination oil, and why new lead goes white without it
Freshly worked lead reacts with rain and forms lead carbonate, a white bloom that washes down and stains slates, render and brickwork below. It is cosmetic, but it looks permanent and it is the most common complaint about otherwise sound new lead.
Patination oil applied the same day the lead goes on prevents it. It takes ten minutes. Its absence is a reliable sign that nobody on site was thinking about how the job would look when the scaffold came down.
Lead alternatives: where they are appropriate
There are flexible lead-substitute membranes and preformed metal valley troughs that do a genuine job. They are lighter, they come in rolls, they do not work-harden the same way, and they are not worth stealing, which matters on exposed or unoccupied buildings.
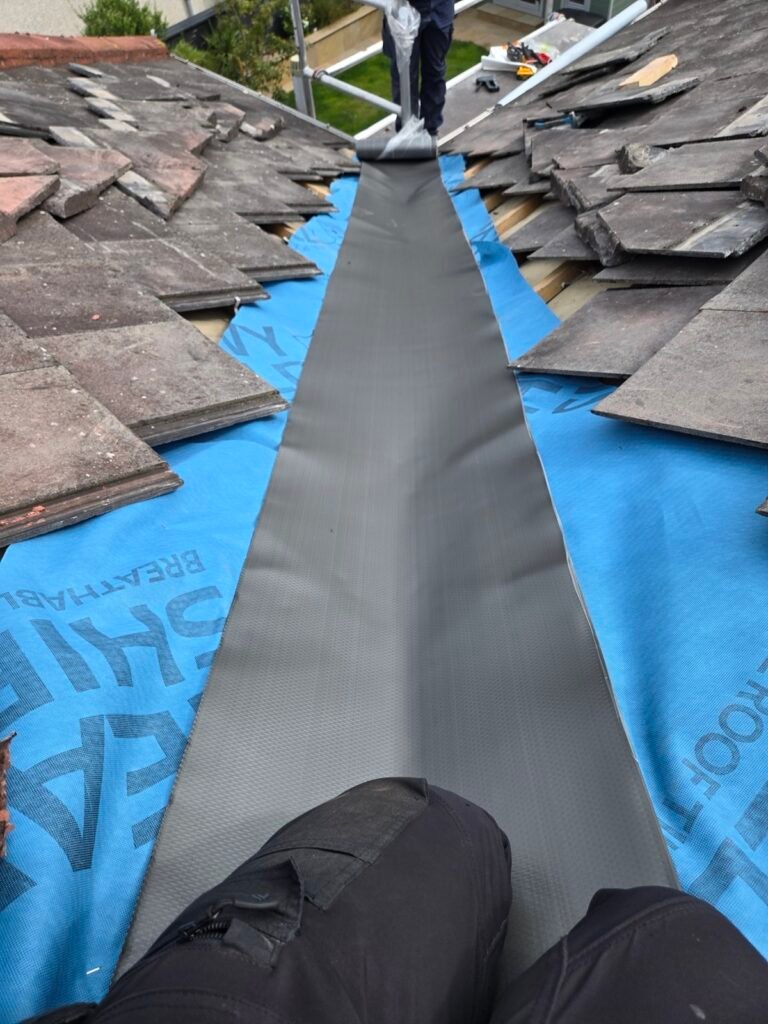
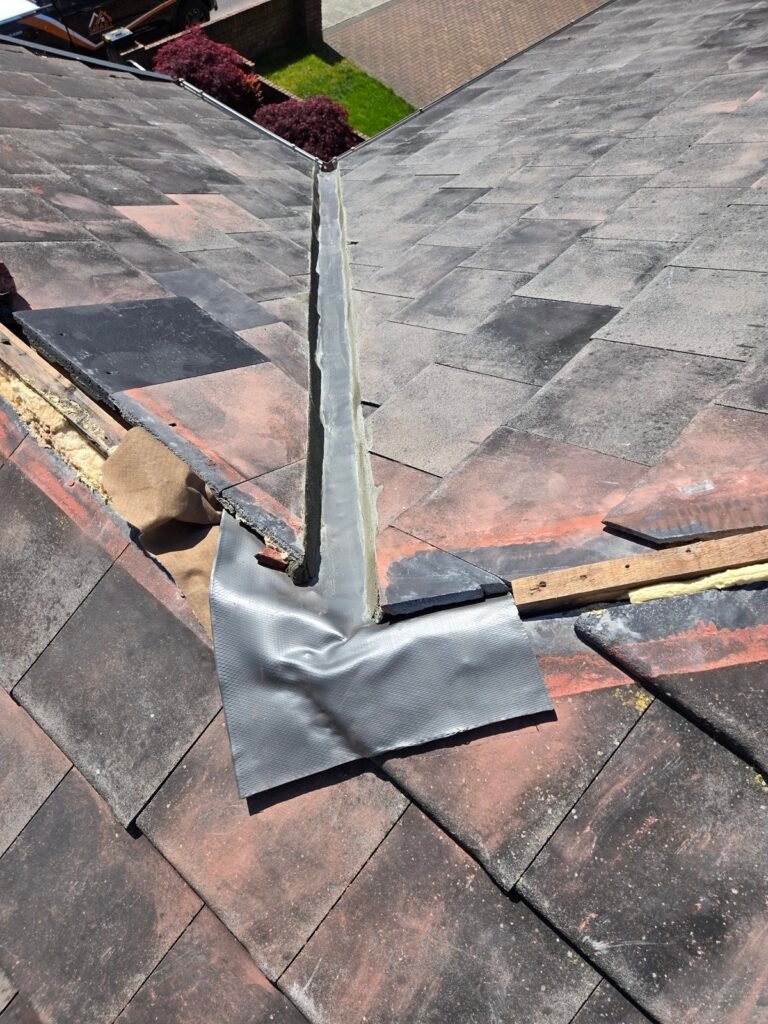
Where we use them: long runs where the 1.5 m bay limit makes the job awkward, complex shapes, sites with a theft history, and repairs where matching the original lead is not practical.
Where we do not: protected structures and period properties where the specification calls for milled lead, and heavy-duty details such as large back gutters and parapet gutters, where the stiffness of lead is the whole point.
Anyone who tells you one is simply better than the other is selling you whichever one they prefer to fit.
What to ask before signing a quote
- Which lead code is specified for each detail?
- Are soakers included at the abutments, or just a cover flashing?
- How is the back gutter formed, and what is the fall?
- Are corners and saddles bossed or welded, or cut and sealed?
- Is the flashing chased and wedged into the joint, or surface-fixed and mastic’d?
- Will patination oil be applied?
A roofer who can answer those six without hesitating is a roofer who does the work properly.
Lead work in Kerry, Cork and Limerick
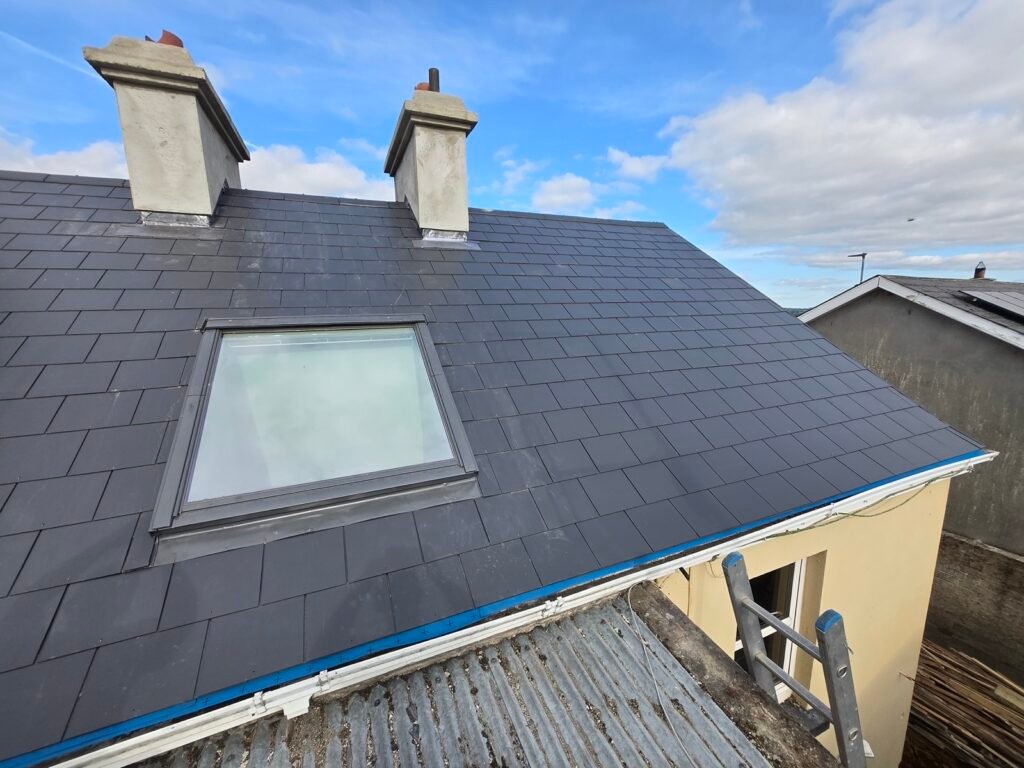
We carry out lead work as part of full re-roofs and as standalone repairs across Kerry, Cork and Limerick: chimney flashings, abutments, valleys, saddles, pipe flashings and decorative detailing on period properties. All our work carries a written guarantee.
If you have a leak at a chimney or an abutment and you are not sure whether it needs a repair or a rebuild, see our lead work page or our leak detection and repair service, or email info@altroofing.ie and we will come and look at it.
Questions we get asked
How long does lead flashing last?
Correctly specified and installed, 60 years or more, often longer than the roof covering around it. Badly installed lead can fail in under five.
Why is my chimney leaking when the flashing looks fine?
The back gutter on the upslope side is the usual culprit and it is invisible from the ground. Blocked or badly formed back gutters are the most common cause of chimney leaks.
What is a lead saddle?
A single shaped piece of lead that weathers a junction where two planes meet, typically where a ridge runs into a chimney stack or at the corners of a back gutter. It avoids a seam at the point where water concentrates.
Can lead flashing be repaired, or does it have to be replaced?
Cracks can be lead-welded if the surrounding metal is sound. If the lead has work-hardened along its length, usually because the bays were too long, patching just moves the crack along and the run should be replaced.
How do you flash an internal corner with lead?
The two upstands are turned up into the corner and the surplus metal is either bossed out so the corner stays one piece, folded into a dog-ear, or the corner is lead-welded. It should never be cut open and filled with mastic.
Is a dog-ear corner in lead acceptable?
Yes, on internal corners. It is a traditional, fully watertight detail because the sheet is folded, not cut. It is not used on external corners, where there is too little metal rather than too much.
What is a lead weathering slate?
A lead base sized to match the roof covering, with a collar formed to fit a pipe or flue passing through the roof.
Why has my new lead gone white?
Lead carbonate, caused by rain landing on fresh lead before patination oil was applied. It does not affect performance, but the staining on slates and render below is hard to remove.
Related reading
Planning a full re-roof rather than a repair? See what a new roof costs in Kerry and Cork in 2026. If water is already coming in, read what to do when a roof leaks in heavy rain, and our roof leak detection and repair page explains how we trace it, and an unused chimney is often the culprit, which chimney capping fixes.